Saturday, January 7, 2017

Making Some Hand Hewn Beams


We have a nice supply of Red Maple on the farm. It is a wood that we use for firewood, but it has a wide variety of uses. I just talked to a fellow who has a logging company, and he told me that soft maple is now in demand for kitchen cabinets, because everyone wants painted cabinets, so cherry is out; we burn that too.


Anyway my son Michael, who does most of the work with the cattle, and is also our woodsman, went out into the woods today and started working on some beams. He uses all hand tools. He buys them at flea markets, local auctions, and he sometimes buys the heads of hatchets and axes from ebay. He makes a lot of the handles for his refurbishing of  the tools from the wood on the farm. He keeps his tools extremely sharp.

Some of Michaels Tools in the Mud Room
He cut down some maple trees in the woods behind our house and cut them into two 9 foot logs. He then used a chalk line to mark off where he wanted to square each side so that he would end up with a 6 x 6 x 9 beam.


He cuts the bark on the side he is going to square into rectangles using his buck saw. He then uses his adze to cut out the sides and each section as he squares a side.


He uses a draw knife to finish and smooth it out after using the adze. The draw knife is by the teeth of the buck saw in the picture below. I took this when he was using the adze, and the knife is a bit hard to see, but it is a blade with handles on each end. You pull it toward you when cutting.

Buck Saw with Draw Knife on  Right
Doing this might seem like it isn't too difficult, but it is a lot of work to make your own beams. He worked for hours out in the cold today. It was about 8 degrees fahrenheit on the mountain.


He worked on them, and got them done. They aren't perfectly square, but they're pretty close, and now he has two nice 9 foot beams for his next project, which I believe is a building for the pigs he wants to get this spring.


Monday, January 2, 2017

Searching Seed Catalogs and the Watermelon Patch


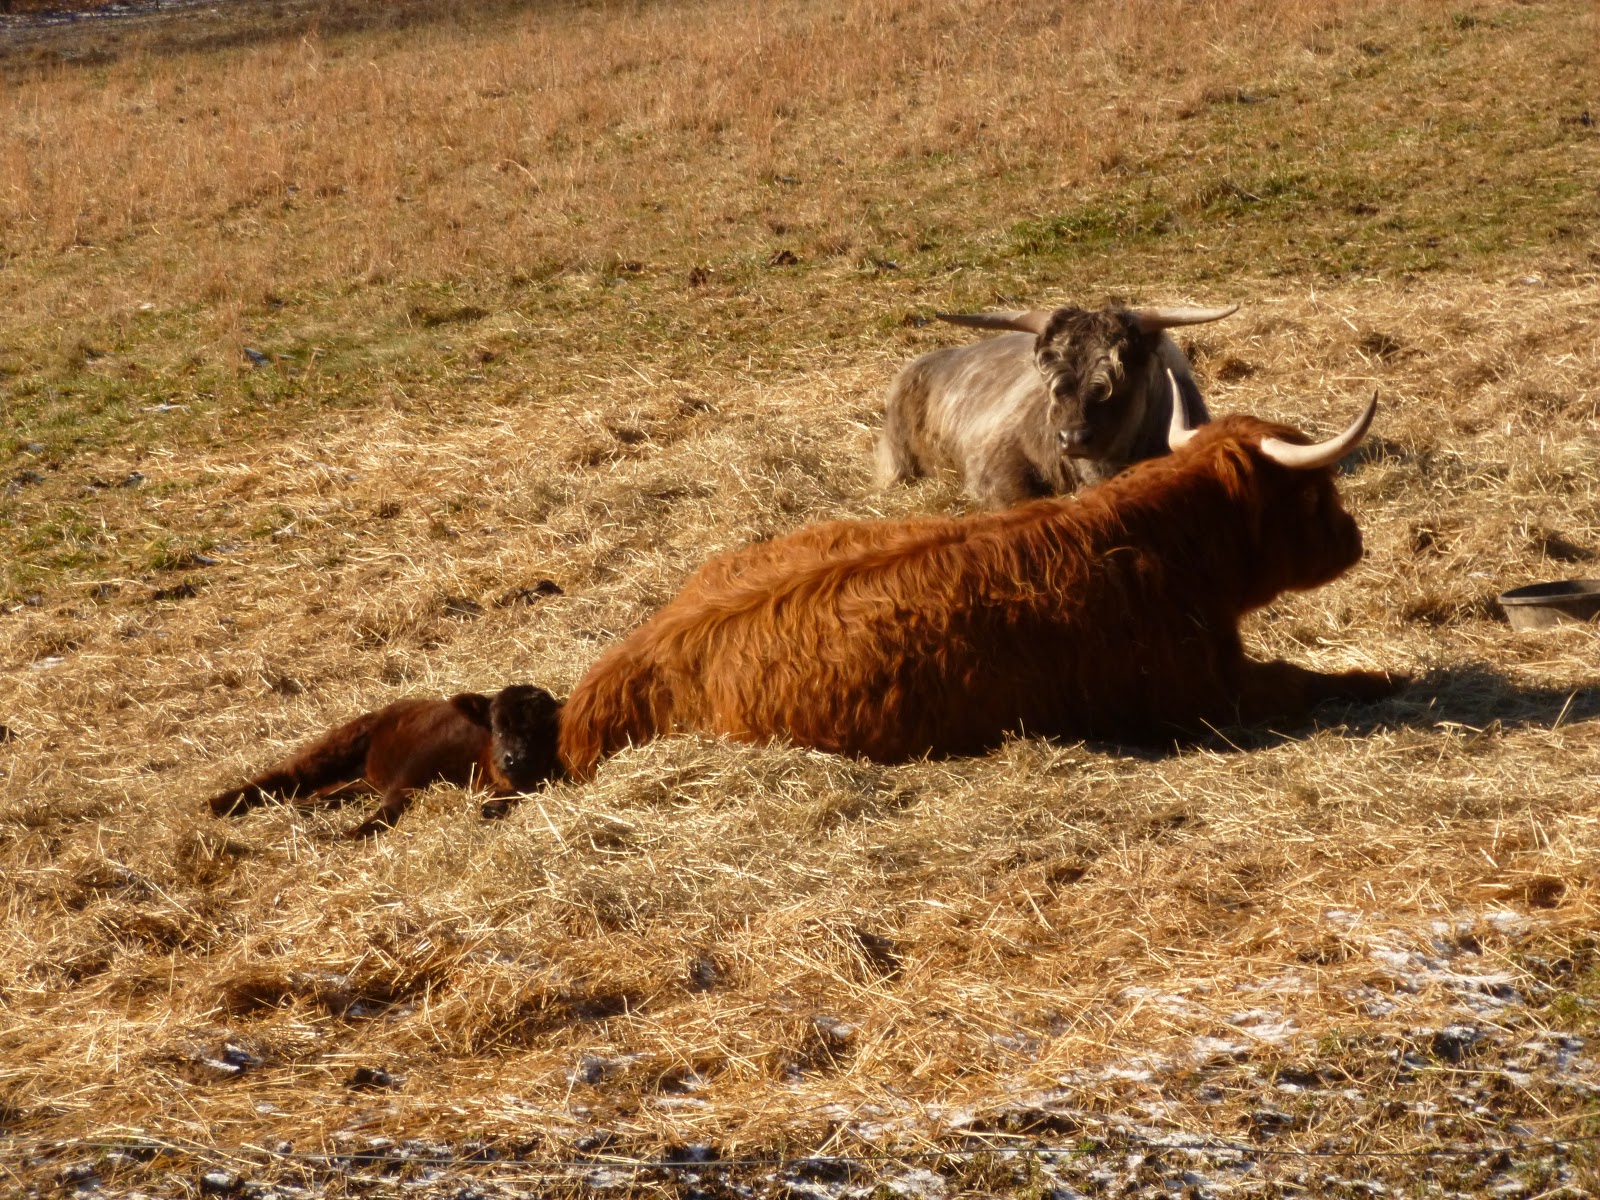
Today was a pretty wet and dreary day on the farm. The Highland cattle are out eating whatever they can find in the fields and the Angus-Cross are in the barn with their large door closed to the weather. It's the time of the year that is a good time to look at seed catalogs to get ideas of what to plant in the gardens or fields.

We got our usual supply this year, Pinetree, Johnny's, Burpee, Jung, R.H. Shumway's, and Gurney's. Today I was looking at pumpkins and watermelons, primarily thinking about watermelons though. We usually grow a patch on black plastic each year. Some years we also grow cantaloupes this way in their own patch or with the watermelons, spaced apart so they don't entangle each other.

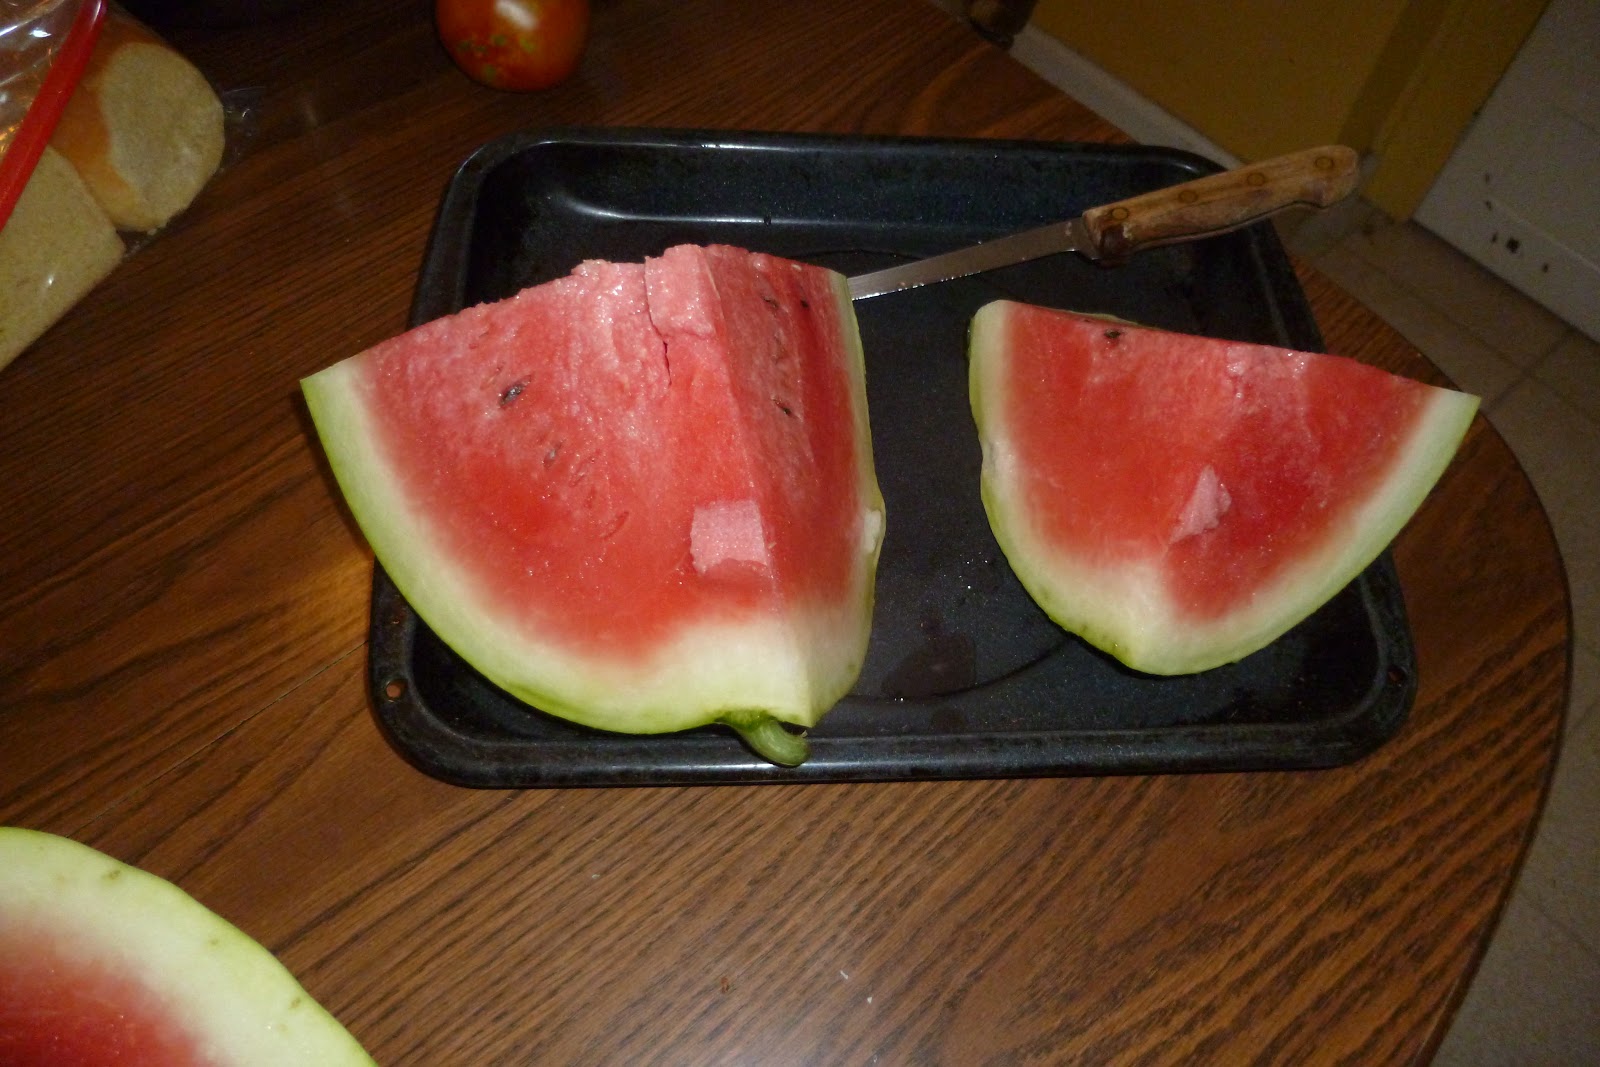
We have tried Sugar Baby and Crimson Sweet watermelons. Crimson Sweet is by far the better of the two. There are a lot of other varieties in the catalogs, and some of them sound tempting, but each year, I am afraid to switch from the Crimson Sweet. We have had really good luck with them.

I have grown them in the same spot for about 7 years, and I've thought about moving them, for crop rotation purposes, but haven't, with no ill effects so far.

We have never sprayed or dusted the watermelons, and they have been great. I broadcast some 10-10-10 fertilizer on the patch in the spring, about a month or so before I lay the plastic down, I then lay down the plastic, sorry I forget which mill I use. There are usually 2 choices at the feed store, and I usually go for the heavier and a bit more expensive one, but not always.

I just lay the plastic by hand with the help of a reluctant family, because I tend to be a pain in the neck when we do this every year. The trick is to leave some slack through-out the patch. Do not pull the plastic tight, the colder it is when you do this the better, within reason. One year I used the thinner plastic, and I pulled it tight when laying it on a fairly warm, sunny spring day. This was a mistake. When it got cooler, as it always does on occasion where we live, the plastic got really taut, and eventually I got some tears as the season progressed and had to patch places, until the plants covered everything. If you get some tears and some wind, you can have a real mess.

We just hold down the plastic with field stones, we use the same pile of them every year. I feel like I know most of the stones in the pile by now. We have no shortage of field stones on our mountain. In one of the woods there is a row of them 3 to 4 feet wide, 2 to 3 feet high and about 100 yards long. The folks did a lot of rock-picking when they carved out this farm from the forest.

In the seed catalogs it says the Crimson Sweet will get to be 15-25 pounds, but we always get 25 to 35 pounders. Mostly they are about 30 pounds. This is why I do not want to change my spot. They are also a dark red inside, and everyone says they are the best watermelons they ever ate.

Right now the patch is bare. I pull all the plastic off in the fall. I then pull out all the remaining vines and roots and throw them in the burning ring, eventually they get burned. I just leave the ground bare all winter on the patch. I figure this will kill any cucumber beetles that might pop up next year. We always get a few, but they never have given the watermelons the wilt.

 I have contemplated dusting the watermelons when I have seen some beetles, but have never given in to the temptation. Our gardens and fruits have been no spray or dust/organic to this point. I don't want to worry about my kids eating whatever they want from the gardens, whenever they want it.

Anyway, some of the varieties in the seed catalog I am looking at right now look and sound good, and I might try another patch somewhere else with another variety this year; some of the yellow fleshed varieties look and sound interesting to me. However, I expect the main patch will be Crimson Sweet in the "sweet spot" where they always are growing.


Thursday, December 29, 2016

Leaves for the Strawberries, Rhubarb, and Raspberries


About this time of year I start to use leaves as a mulch in the garden. Most of our leaves are Maple leaves. These are a good leaf to use as they break down quicker than Oak leaves. I think that most other types will probably also break down quickly like the Maple leaves.

My youngest son and my daughter are in charge of this task. They rake up the leaves in the yard behind our main garden into huge piles and jump into them for as long as they want to. When they get finished with their fun, they open up the big gate at the back of the garden and rake their piles into the garden.

After this we let them just sit there till about now when the ground has gotten colder, and we are expecting to get some really cold weather. Then we all go to work. We mulch around our strawberry patch first. We heap the leaves up a bit higher that the plants between the rows and around the patch. I did this quickly yesterday by just laying my small wheelbarrow on its side in the leaf pile and raking it full. Using the large leaf-rake as a clamp on the leaves I tipped the wheelbarrow up and get a nice load of leaves.

I then just wheeled them up to the patch and dumped them as I moved the wheelbarrow back. I don't like to cover the tops of the strawberries completely. I think they do better if they get to breathe a bit through the winter. I also use hardy varieties, Ozark Beauty and Fort Larmie berries. These are tough plants that will live through our Western Pennsylvania winters without mulch, but they do much better with my leaf mulching, plus the leaves keep the weeds down between the rows, big time.

After I leaf mulch the strawberries, I lock the chickens out of the garden. They love to scratch in the leaves, and will break up the mulch too much.

I also much around my rhubarb plants about the same time. I fertilize the rhubarb with wood ashes and cow manure prior to the mulching, so I like to let the manure and ashes get rained on and weathered into the soil for about a month or so before I apply the mulch pretty much the same as I do for the strawberry patch. I never fertilize the strawberries; they don't need it.
Rhubarb with manure and ashes; it will get the leaves in a few weeks.

I scatter the leaves that I have left over in various spots around the garden. If I have a lot, I will put some on the path between the red and black raspberries. Which I against all advice have had in the same vicinity for ten years with no problems. They both grow and bear like crazy.

I also keep a reserve pile near the gate in case we get some serious winds that scatter the mulch too much. It has to be serious wind to do this. It is not too uncommon for us to get 40 to 50 miles per hour winds up here on the mountain, and usually the mulch stays put. Sometimes if it is going to be 10 or more degress below zero - Fahrenheit, I will sprinkle the tops of the strawberries and  with some leaves. Usually not the rhubarb though. It just kind of dissappears as the winter gets worse, and I don't pay much attention to it.

Anyway, the leaves are free, effective, easy to work with and organic. I can't understand why I drive through neighborhoods and see black plastic garbage bags full of leaves ready for garbage/landfill pick-up. Every kid should have their own strawberry patch in their back yard. That's some environmentalism I could get behind.

Wednesday, December 28, 2016

A Recreational Walk Around the Farm


I like to just take a walk around the farm. It is interesting to see what the kids and the animals are doing.


I started by walking into a small woods behind the house that the kids have played in since some of them had been babies and all of them hadn't started school yet. My second son Michael has kind of colonized this woods for the past few years. I often say jokingly that he was born in the wrong century because if you give him an axe he'll soon be a chopping and a building. Sure enough he was chopping and had just built a small fire.

He has been cutting down and up trees for a few weeks and has about twenty log piles scattered through the woods. He also has been getting logs ready for some building. So far they are just cut and he has taken the bark off of a few of them. I don't think he has had the adze to them yet.


He has been building things in and out of the woods for some time now. Some of his buildings are bigger than they look in the pictures. The story and a half chalet type building is about 20 feet high at the peak. This is one of the benefits of living in the country for a child. If they like to build all they need are a few tools, and they can find their own raw materials.


After visiting the woods I walked back up into the yard and took a few shots of our cat who thinks he is a chicken, visiting with his flock. For the whole story on this check out the post of the same name on this blog. He really loves being with the chickens. When they are out he is with them.

They really are used to him and don't seem to care if he is right beside them even Pab the rooster who is right in front of him in this picture has no problem with him.

As I was walking up to the barn I noticed our now 2 week old Scottish Highland bull calf Monty licking the mineral block. He is still on milk from his mom and will be for about 6 months, but he always has to try out what Annabelle and the Dun are eating. He chews on hay and grass with them, and he eats a bit of grain and molasses feed with them and licks out their bowls. We just give them a bit of this feed in the morning and evening so that they will come anytime we call them. They can be anywhere in the fields and if I start yelling for them they come.

If this seems like a lot of hay on the ground it is. We have been putting a bit extra out for Monty to sleep on. Today was a nice day, but it is cold out at night and the Highlands sleep outside, old and young alike.Inside the barn Doggie and Red and some chickens were hanging out, and some chickens were laying eggs.


When I went in Annabelle, Dun, and Monty came into their pen, which is next to Doggie and Red's pen. I was trying to get a picture of Monty, but he kept hiding behind Annabelle, though I did get one anyway, but not a great one.


 Red and Doggie were sniffing and licking my old Carhart coat, and I could tell Red was going to try to lick me. He has the longest tongue I have ever seen on a cow. He will use it to grab leaves off of the trees in the summer. Well anyway, I took a picture just before he could lick the camera.


I guess this isn't my usual topical post, just a bit of rambling. Hope you didn't mind.

Tuesday, December 27, 2016

Inexpensive Deer Protection for Young Trees


We have major problems with Whitetail deer in Western Pennsylvania. They are extremely destructive to crops, bushes, vines, and trees. They also are the primary host for the ticks that carry Lyme disease, which can have devastating effects upon people and animals. However, in spite of us being overrun by deer the Pennsylvania Game Commission has a vested interest in their promulgation, and they are something of a sacred cow around here, without the benefits.

 The deer damage the young trees in two ways, they will browse on any new growth, and the bucks will rub their antlers on the trees and scrape the bark off, often girding the tree. Sometimes they break the tree in two when they are creating their buck rub.


I have tried various ways of protecting my newly planted and small fruit trees, and I think I have finally found an effective and easy way to keep the deer from destroying my trees.


I use two foot pieces of rebar, five foot lengths of 1/2 or 3/4 inch PVC pipe and orange polypropylene baler twine. All of these main ingredients are not biodegradable and will last for years. I have used the twine in various applications outside, and some has been outside for 5 or six years and is still fine.


I make a five by five square around the tree by pounding the rebar about ten to twelve inches into the ground. I then slide the PVC pipe over the rebar, mark my spots and drill using a 3/8 Irwin speed bit, designed for wood or plastic, and then thread the twine through the holes and tie it. I put the twine at about two and three feet from the ground, and we have never had any problems with the deer when using this arrangement. It is best to have a helper when setting this up, it makes it much easier


Another nice benefit to this system is that you can easily remove the PVC and the ropes by just sliding the pipe off of the rebar. That way you can easily mow, mulch, or weed as needed, and then you just slide the pipes back on and your trees are safe again.


I have tried spraying the trees with "Deer Off" type products, and it mostly works, but it is expensive and has to be applied frequently or you are going to lose some trees or growth. I have used deer netting, but it is expensive, hard to work with and not durable. I have also used t-posts and wooden posts with wire, twine, etc.... . This PVC, Rebar, and Twine Combo is the easiest and cheapest and best way I have come up with to keep the deer off of the trees. Plus all of the other ways make it difficult to get access to your trees.


Monday, December 26, 2016

Cleaning the Pen and the Social Order of Cattle


Today was a nice day to clean out a pen and spread the manure around the farm. We are keeping two Angus-cross steer, Doggie and Red in a large open pen in the barn because we have a small calf, Monty, outside with his mom, Annabelle, and dad, the Dun, and we don't want too much horseplay/cowplay around him.

We are afraid the steer and the bull might accidentally step on him when he is sleeping. They tend to push each other around and but heads and jump up on each other when they are out in the field. The cow never participates in their sophomoric behavior.

Well anyway, My son and I moved the steer into a small pen and began cleaning the big pen out using manure forks and wheelbarrows. They had been in the pen for two weeks, so we had quite a bit of manure and wet soggy bedding to remove. It took us about half the day to complete this task.

We hauled out the wheelbarrow loads of manure to many fruit trees and the gardens. The chickens were also out today helping to spread it around. It was about 50 degrees fahrenheit and partly cloudy with a nice breeze today, a rare December day on our mountain in Pennsylvania.

Once we got the pen all cleaned out we let Doggie and Red back into the big pen. They ran around and gave their cleaned out pen a good sniffing and started to eat their hay. Annabelle, the Dun, and Monty the calf all came in to visit them. They could hear them in the other part of the barn during the mucking out time, but they couldn't see them. They have adjoining pens, but the Scottish Highland family go in and out as they please.

We plan on having them all loose out in the fields again once the weather gets a bit better and Monty gets a bit bigger. We can't have them all going in and out the barn as they please because Monty would probably get hurt. Out in the field he runs like a deer and he can escape, but not in the barn.

Also, we can't have Doggie in the barn with the Dun. For some reason the Dun loves Red, but he always chases Doggie. We had to lock them all out of the barn this spring because the Dun just plasters Doggie up against the wall if he gets him trapped in the pen.

So in other words when the weather is nice enough to lock them all out of the barn again and when Monty is a bit bigger they will all roam the fields again together. I think I just typed a lot to say a little, but it was a long, good day today on the farm.